Archive for ‘Guest Post’

March 15, 2012

Teaching Thursday: Spring Yarn Vase By Fireflies and Jellybeans

During National Craft Month we have several craft bloggers stopping by, to guest blog on Paint Me Plaid. Since this month is all about celebrating crafts, we also wanted to celebrate people who craft. All month long we will be introducing you to some craft bloggers. Today we have guest blogger, Fawnda, from Fireflies and Jellybeans.
Hello Paint Me Plaid! I am so excited to here guest posting today! I love all of the plaid projects and I feel honored to be part of this fun blog!
Let me introduce myself to you!
I am Fawnda and you can find me at Fireflies and Jellybeans! I am a thirty-something mom of a son (4 years old) and a daughter (22 months)! My Husband is my best friend and biggest supporter {I am very lucky}! We have all sorts of fun over at Fireflies and Jellybeans! I share crafty tutorials with you, and we have a fun Show Off Your Stuff linky party on Thursdays.

Today, I have a fun and easy spring decor craft for you:

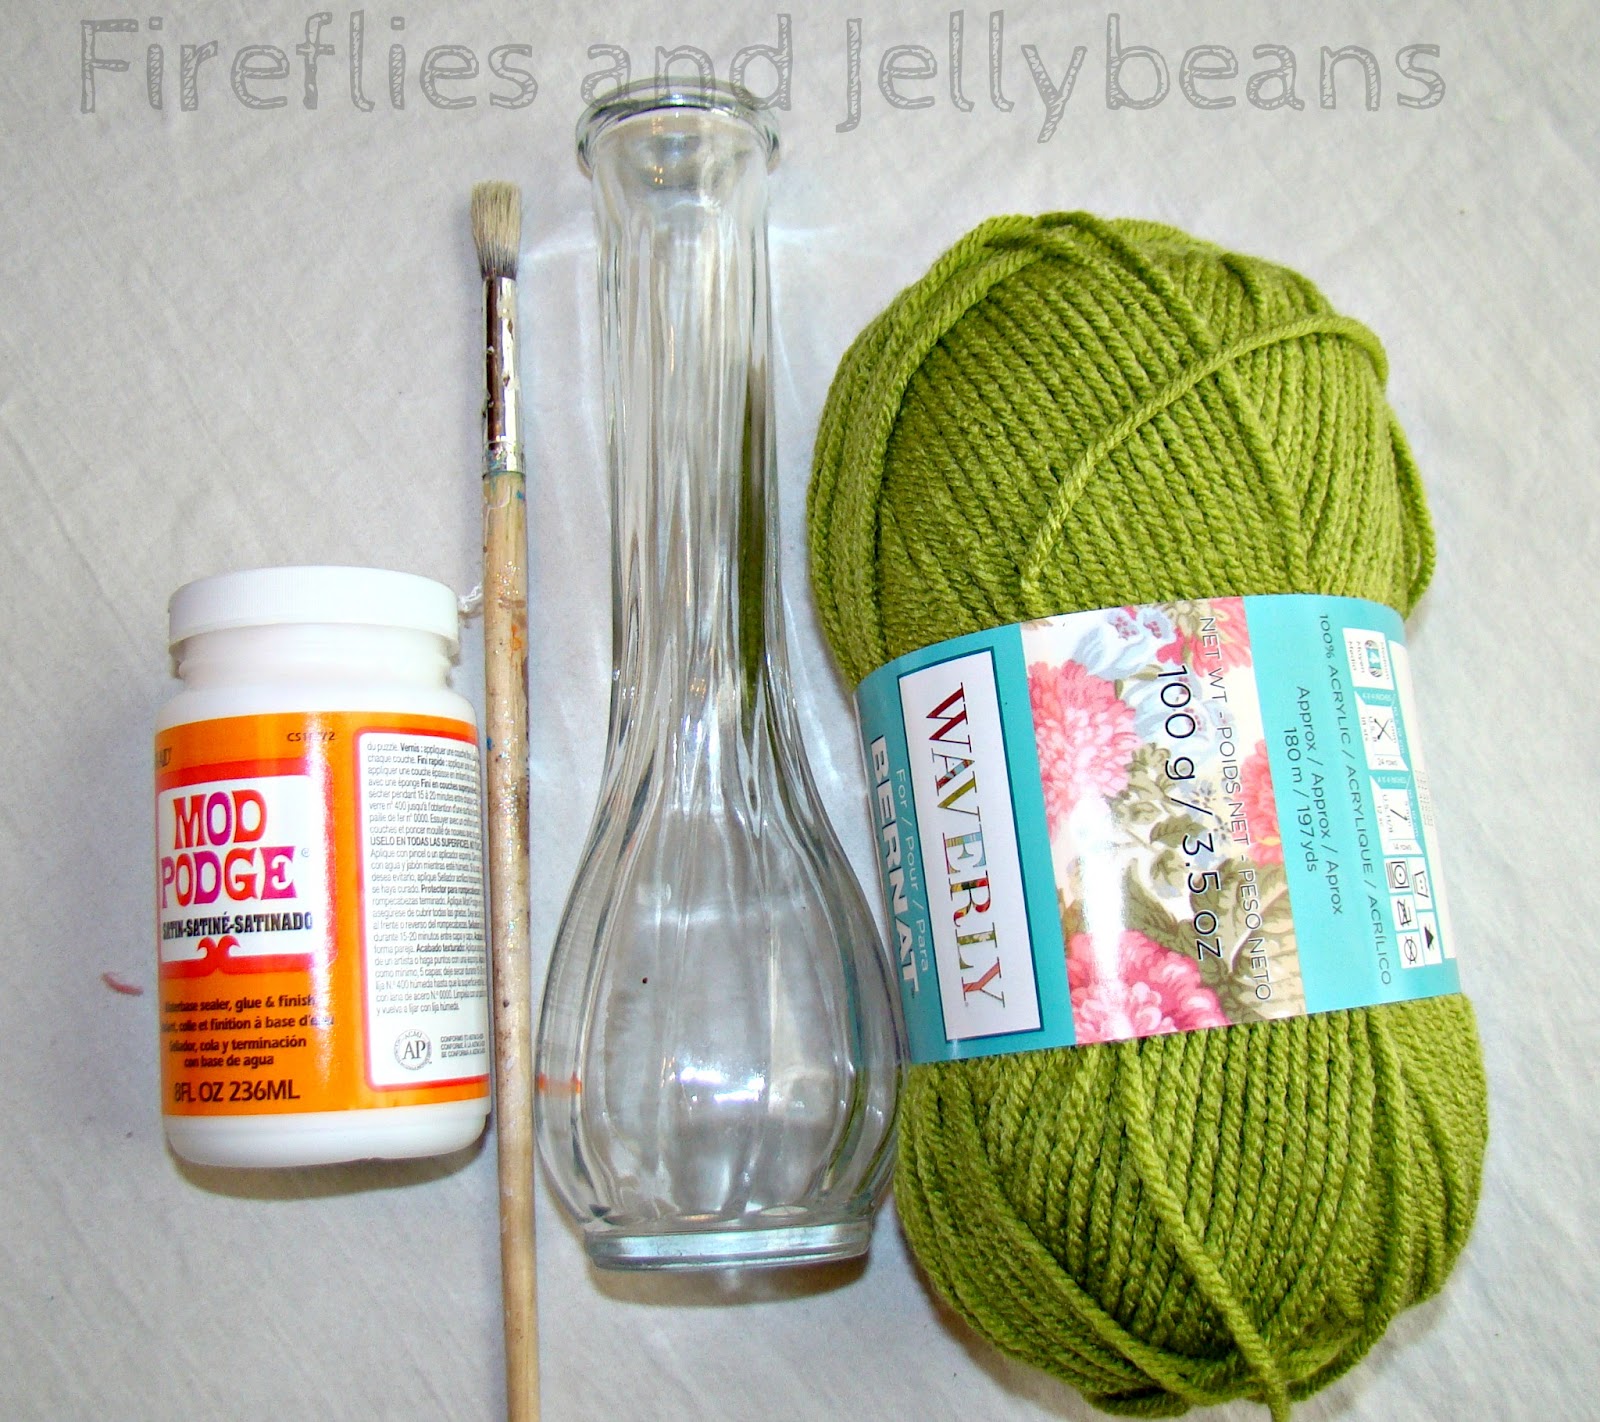
Here is what you will need:
Mod Podge
Paint brush
vase
yarn

Here is how you make your own:

1. Paint on the Mod Podge on the top of the vase down about an inch. You don’t want to go down too far because the Mod Podge dries.
2. Wrap your yarn about the vase over the Mod Podge. Be sure to cover the end and push all the rings together tight.
3. Paint on some more Mod Podge.
4. Wrap more yarn… repeat, repeat, repeat!

5. Wrap all the way down to the bottom of the vase and use Mod Podge to glue the end in the place. I had to hold in in place while it dried. If you are in a hurry you could also use a dot of hot glue.

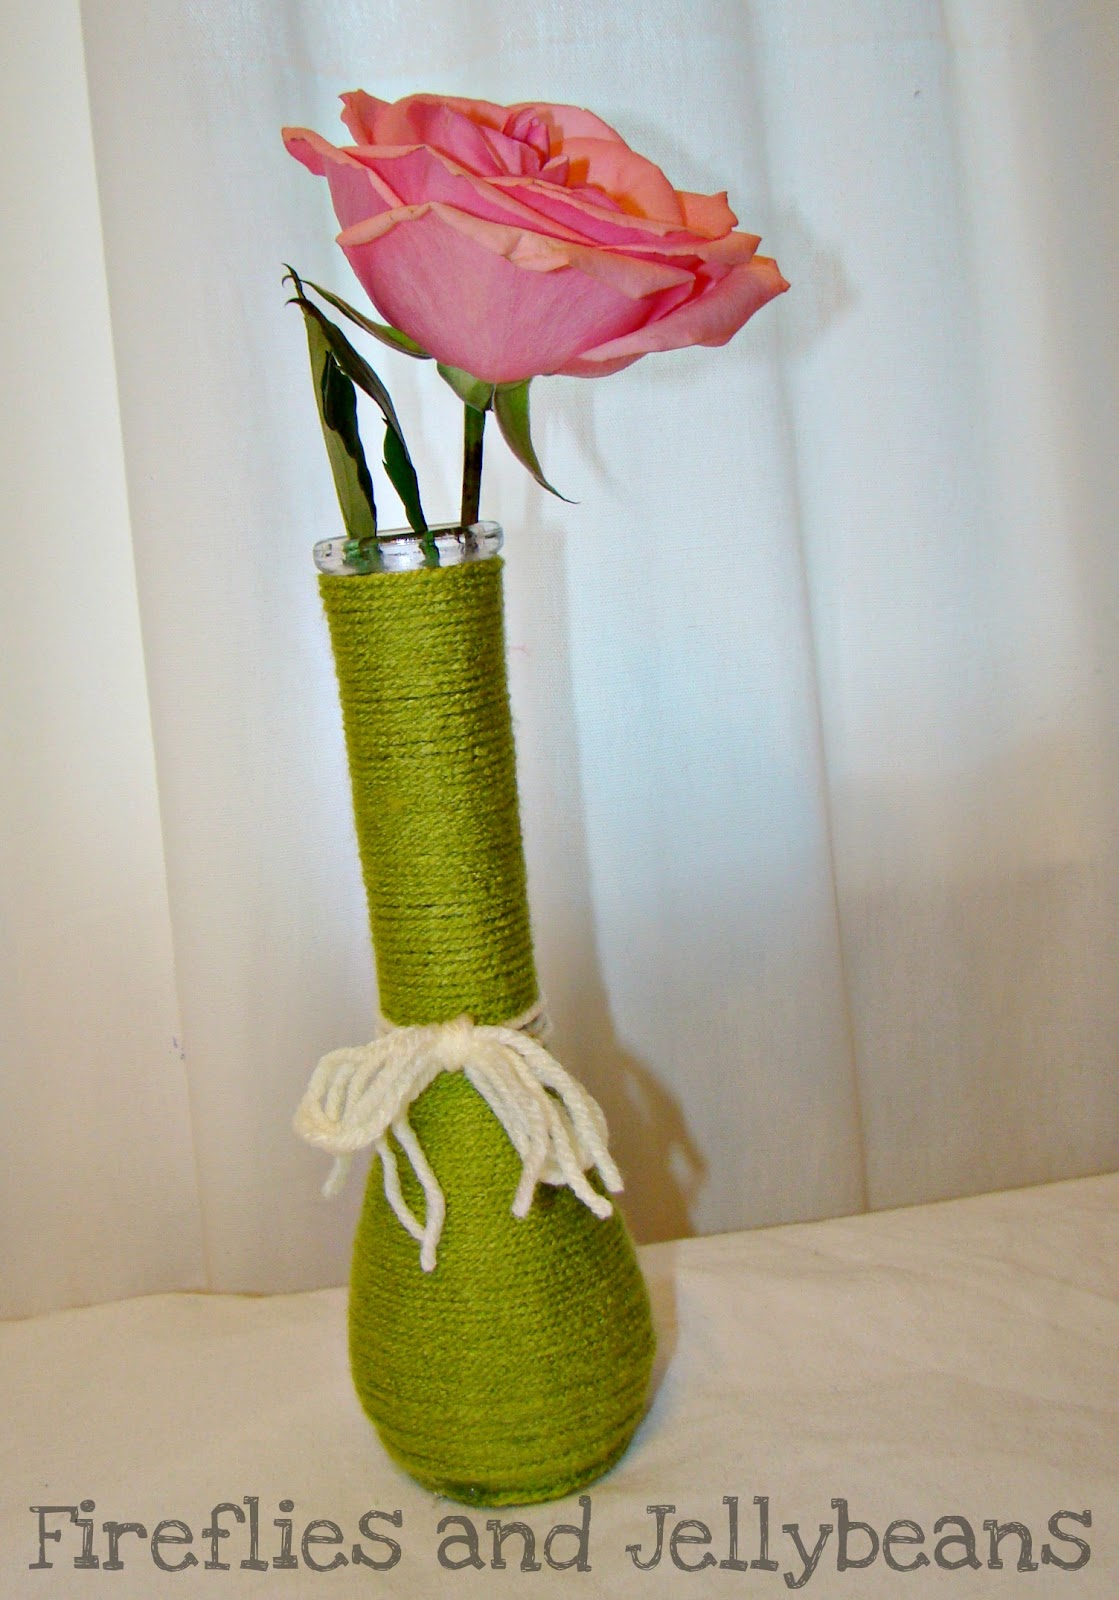
Add some cute embellishments and you have an adorable spring vase!

Thanks so much for having me over today! It was so fun! I would love to have you come and see some other craft tutorials I have over at Fireflies and Jellybeans!

March 9, 2012

Paint Me Plaid: Guest Blogger Malia Karlinsky (Yesterday on Tuesday)

It’s March and that also means it is National Craft Month. Since this month is all about celebrating crafts, we also wanted to celebrate people who craft. All month long we will be introducing you to some craft bloggers. We here at Paint Me Plaid love to showcase the amazing crafts that other craft bloggers create, but in addition to showing off their crafts we want to spotlight the crafter as well. Today we have a guest blogger, Malia, from Yesterday on Tuesday.

Happy National Craft Month, everyone! March is here and Spring has (almost) sprung. When I think of spring, I think of birdies chirping and sweet little nests. It’s easy and fun to make your own cute nests with some simple supplies including Mod Podge.

Paper Bag Nests

Supplies: Cling Wrap, Mod Podge, paper lunch bags, a small bowl and a paper shredder!

Cut some strips out of the paper bags 1 1/2-2 inches thick

Meanwhile shred up some paper lunch sacks

Cover the bowl with Cling Wrap

Using a foam brush, paint Mod Podge on the paper strips and press around bowl to make the nest shape. Nest dab Mod Podge on empty spots and gently press paper shreds in

Let it dry overnight

To separate the bowl and nest gently peel back Cling Wrap. Trim top of nest.

Nesty goodness.

Then you get to feather your nest…

With a bird… (Dollar Store find)

Easter candy…

Or there’s always eggs!

December 5, 2011

(Make it Monday) Paint Me Plaid Guest Blogger: Laura Bray

We here at Paint Me Plaid love to showcase the amazing crafts that other craft bloggers create, but in addition to showing off their crafts we want to spotlight the crafter as well. Today we have a guest blogger, Laura. Enjoy!

Hello my all my Plaid-painted friends!  I’m Laura Bray.  I work as a professional craft designer, writer, and lifestyle expert.  You can visit me and learn all about my crafty life as the wife of physicist, mother to a six year old girl, and a crafter-at-large, on my blog at www.katydiddys.blogspot.com.

I call my style Creative Nostalgia™.  I love traditional home arts, but like to put a modern twist to them.  I love to share simple tips to help creative find balance in their lives.  If you like to craft, sew, embroider, and cook, you’ll find lots of inspiration on my blog.

Today, I thought I would share a tutorial for creating some cute clothespin ornaments.  It doesn’t get any more retro than that, does it?  I know I still have some from my childhood hanging on my tree.  This is a great craft to do with your little ones too!

Elf Clothespin Ornaments

Supplies:

Wood Clothespins

FolkArt Paint

Craft glue

Felt

Acorn cap

Instructions:


  1. Paint your clothespin to represent skin tone and paint on some hair.  If you want to make a boy elf, you can simply paint a pair of pants and shirt directly on the clothespin.  Don’t forget to use a small brush to add a little face.
  2. Once paint is dry, glue an acorn cap to the doll’s head.  You may want to cut simple clothes out of felt and glue them on.
  3. Add a hook to the top of the doll’s head or tie some fishing wire around the neck and hang on your tree.

See?  Simple!  You’ll still have time to make cookies.  Happy Holidays!


October 28, 2011

Paint Me Plaid: Guest Blogger (My Girlish Whims)

Happy Friday everyone! We here at Paint Me Plaid love to showcase the amazing crafts that other craft bloggers create, but in addition to showing off their crafts we want to spotlight the crafter as well. Today we have a guest blogger, Rebecca. Enjoy!

Hello there! My name is Rebecca and I blog over at My Girlish Whims. My blog is all about beading, crafting, and general life as a girl!

I’m a 21 year old girly girl from the Philly suburbs area. I’m currently finishing up my last semester of college and craft basically whenever I’m not in class or doing homework! I’m a major beadaholic, and have been making jewelry since I was a kid. I also love doing DIY crafts of all kinds, and love having a blog to show my creations off to someone else besides my roommates! I’m also getting married in February so have been having fun making wedding plans and doing as many DIY projects for it as I can.

Today I’m going to show you how to make these owl paper lanterns!

I found these paper lanterns for $1 at the dollar store while in search for decorations for my sister’s owl themed baby shower. They are pretty ugly as is, but I got an idea to spruce them up a bit using some Apple Barrel paint!

I picked three different paint colors that coordinated well with the owl/woodland/orange theme of the shower.

And squeezed the paint directly onto the lantern…

and then gently bushed it out all over the lantern.

I cut out pieces of card stock for the eyes and nose and hot glued them on.

I also traced out little feet with card stock.

And then cut them out and hot glued them onto the bottom of the lantern.

Lastly, I cut out wings and hot glued them to the side of the lantern.

Then ta-da! I cute little owl lantern!

I hung them off a light above the kitchen table where the food was for the shower. The owls were the perfect touch for the shower!

To see some of the other projects I have done, come visit my tutorials section! I’d also love for you to link up to my weekly link party, Your Whims Wednesday, and show off some of your own girlish whims!

Thanks so much for having me here Plaid!