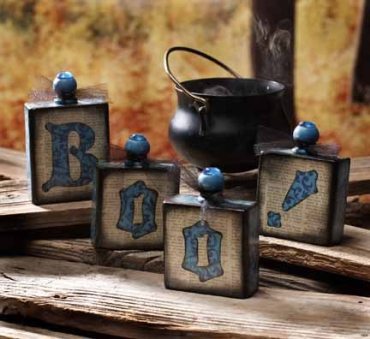
Potion Bottle “BOO!” blocks by: Debbie Saenz
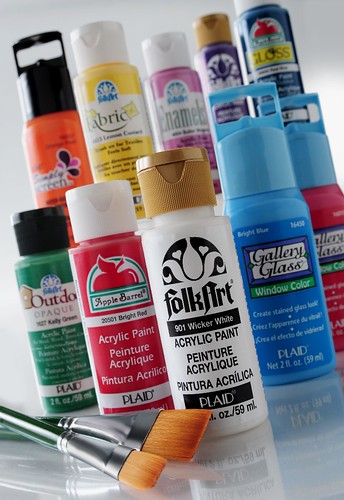
Get creative with 2×4’s! Make this unique Halloween décor for any room in your house. This is an intermediate skilled project, that takes at least an hour to make. This project was created using Mod Podge, and FolkArt acrylic paint.
Supplies Used:
CS11302 Mod Podge, Folk Art Acrylic Paint – 643 Azure Blue, 2×4 (15 inches), Miter saw or hand saw, news paper or scrapbook paper with print, blue scrapbook paper with designs, four 1 1/16” Finial Dowel Caps, 4 blue acrylic gems, Black tulle, Black Distress Ink, Sandpaper, Hot Glue, Paint Brush, cosmetic wedge
Instructions:
1. Cut 2×4 into 4 sections: One 4” section and three 3.5” sections.
2. Use sandpaper to sand edges smooth and corners rounded.
3. Paint blocks and Finial Dowel Caps with Azure, Allow to dry.

5. Use the block fronts as templates to trace back of newspapers or printed scrapbook paper; cut out and set aside.
6. In same manner as above step, use blue paper for top and sides.
7. Adhere papers with Mod Podge smoothing out all bubbles with your hands. Allow to dry.
8. Sand the edges of each block sanding “off” some of the paper to give a distressed look. Sand dowel caps to give an aged look.
9. Draw BOO! Letters onto back of remaining blue scrapbook paper making sure they are a size that fits onto each block with at least a ½” width. (Note: the “B” should be slightly larger as it will be for the largest block); cut out the letters.
10. Use Mod Podge to glue letters onto the front of each block. Allow to dry.
11. Distress the edges of each block using black distress ink and cosmetic wedge.
12. Seal each block with a coat of Mod Podge. Allow to dry.
13. Adhere dowel caps to the top of each block with hot glue.
14. Attach gems to the top of each dowel cap with hot glue and tie on black tulle.


