Here is an elegant home décor accessory for you to make, just in time for Halloween. Ir was designed by one of our newest designers, Laura Bray. To see more craft creations from Laura please check out here blog, Katy Diddys.
This project features a new stencil from our Easy to Paint line, called Curly Tree. It also includes FolkArt paint, and Apple Barrel Paint. This is an intermediate skilled project, which takes 2 or more hours to complete. The new easy to paint line is available at AC Moore, and Michaels craft stores.
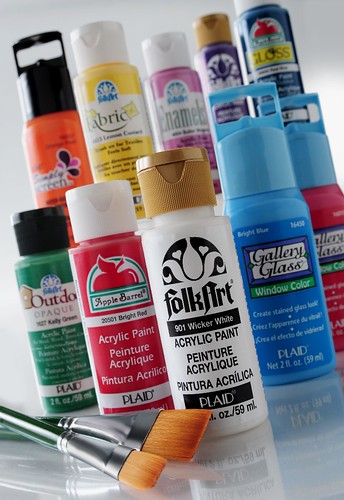
Plaid Supplies Used: FolkArt Acrylic Paint – 479 Pure Black, FolkArt Painting Stencil (Curly Tree)-30610, Spouncers Value Pack-34106, and Apple Barrel Acrylic Paint-20504 Black
Additional Supplies Used: (1) 5 ½ ” x 6 ½ ” piece of linen fabric, (2) ¾ ” x 5 ½ ” strips of black and white polka dot fabric, (2) ¾ ” x 7 ½ ” strips of black and white polka dot fabric, (1) 6 ½” x 7 ½” piece of Halloween themed fabric, 16” piece of black and white printed ribbon, Flat backed crystals in Fall colors, Pillow stuffing
Instructions:
- Lay down your linen fabric onto a piece of plastic wrap. Place the FolkArt Stencil on top of the fabric, centered. TIP: I use painter’s tape to secure the fabric onto the plastic covered work surface and the stencil onto the fabric.
- Using your pouncer, gently dab the Apple Barrel acrylic paint onto the fabric, within the stencil.
- Gently pull off the stencil and allow the paint to dry.
- Apply the flat backed crystals around your image in a pleasing pattern. Follow manufacturer’s instructions for heat setting them, or use fabric glue to affix them.
- Sew the two 5 ½” x ¾” strips of polka dot fabric onto the top and bottom of your stenciled piece of linen. Sew the two 7 ½” x ¾” strips onto the sides. Use a ¼” seam allowance.
- Press your seams and then lay down your stenciled piece of linen, face up. Take your 6 ½” x 7 ½” piece of Halloween fabric and lay it face down on top of the stenciled fabric.
- Take your ribbon, fold it in half and lay it between the two pieces of fabric. Be sure center the two cut ends at the top of the fabric. Make sure the looped end is facing down and allow the cut ends to extend about 1” from the edge of the fabrics. Tuck the ribbon between the fabric pieces so that it won’t get caught as you sew the seams. Pin everything in place.
- Using a ¼” seam allowance, sew around the edges of the fabric. Be sure to leave a small opening at the bottom of the pieces to allow for turning out and stuffing your door knob pillow.
- Turn-fabric pillow out. Fill with pillow stuffing. Whip stitch the opening on the bottom closed.


