Have you ever seen a picture in a magazine and thought “I love that – that matches my bedroom/kitchen/bathroom exactly.” Of course you have! I find inspirational pictures all the time. Have you ever thought about turning one of those inspirations into a craft project? You can. Take a peek at the project below to see how it’s done.
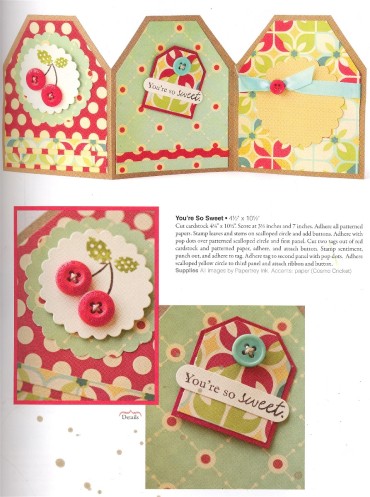
Plaid designer Holli saw this picture of a cherries themed card in The Stampers’ Sampler (April/May 2010) and fell in love. She wanted to make something new for her kitchen and it just so happens that these cherries coordinate . . .
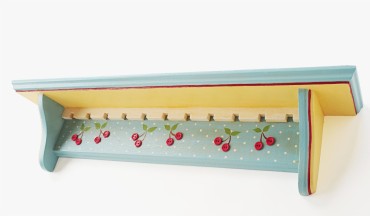
Here’s what you’ll need to make this cute cherry shelf. Gather these supplies:
- Unfinished wood shelf – found at Michaels
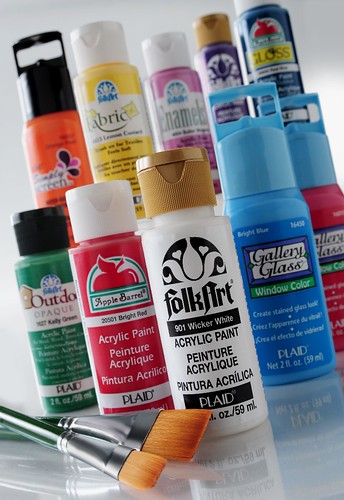
- FolkArt Acrylic colors – Sky Blue, Sunflower, Warm White, Maple Syrup, Fresh Foliage
- Flat paint brush
- Liner paint brush
- 12 red buttons
- Craft glue
- Begin by basecoating the entire shelf with Warm White. Give at least two coats and allow to dry.
- Colorblock the shelf as shown in the picture. Paint the top, insides and front with Sky Blue. Paint underneath the shelf and the outsides with Sunflower. Allow to dry.
- Use the liner brush to add Lipstick Red accents to the front and sides of the shelf as shown. Allow to dry.
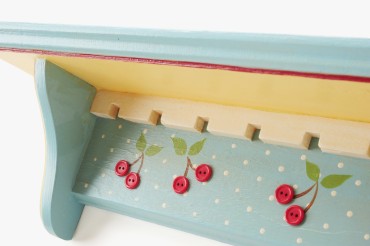
- Using the end of the liner brush, make Warm White polka dots on the front of the shelf. Holli measured and marked her grid with a pencil – then dotted right over the pencil marks. Allow to dry.
- Using the liner brush, paint Maple Syrup stems randomly on the front of the shelf (wherever you want your cherries to be). Allow to dry. Go back and paint the leaves with your flat brush and Fresh Foliage. Allow to dry.
- Add your button “cherry” embellishments with the craft glue. Allow your shelf to dry at least 24 hours before hanging!


